Platform workflows in pictures
Sign in, onboard workspaces and review merchant rewards with clear steps and outcomes.
Use this guide to sign in, onboard a corporate or merchant workspace, and review a reward before publication. You need an authorized Platform account; crew can act only in areas granted by a full administrator.
The access screenshots below were captured from the public portal on 5 October 2026. The signed-in steps link to the detailed task guides; signed-in screenshots are pending an approved sample workspace.
1. Sign in on the correct portal
Open Platform administration. New users should open their invitation first, verify the invited inbox, review the access being offered and explicitly accept. If asked to create a first password, enter it twice. Existing accounts keep their password.
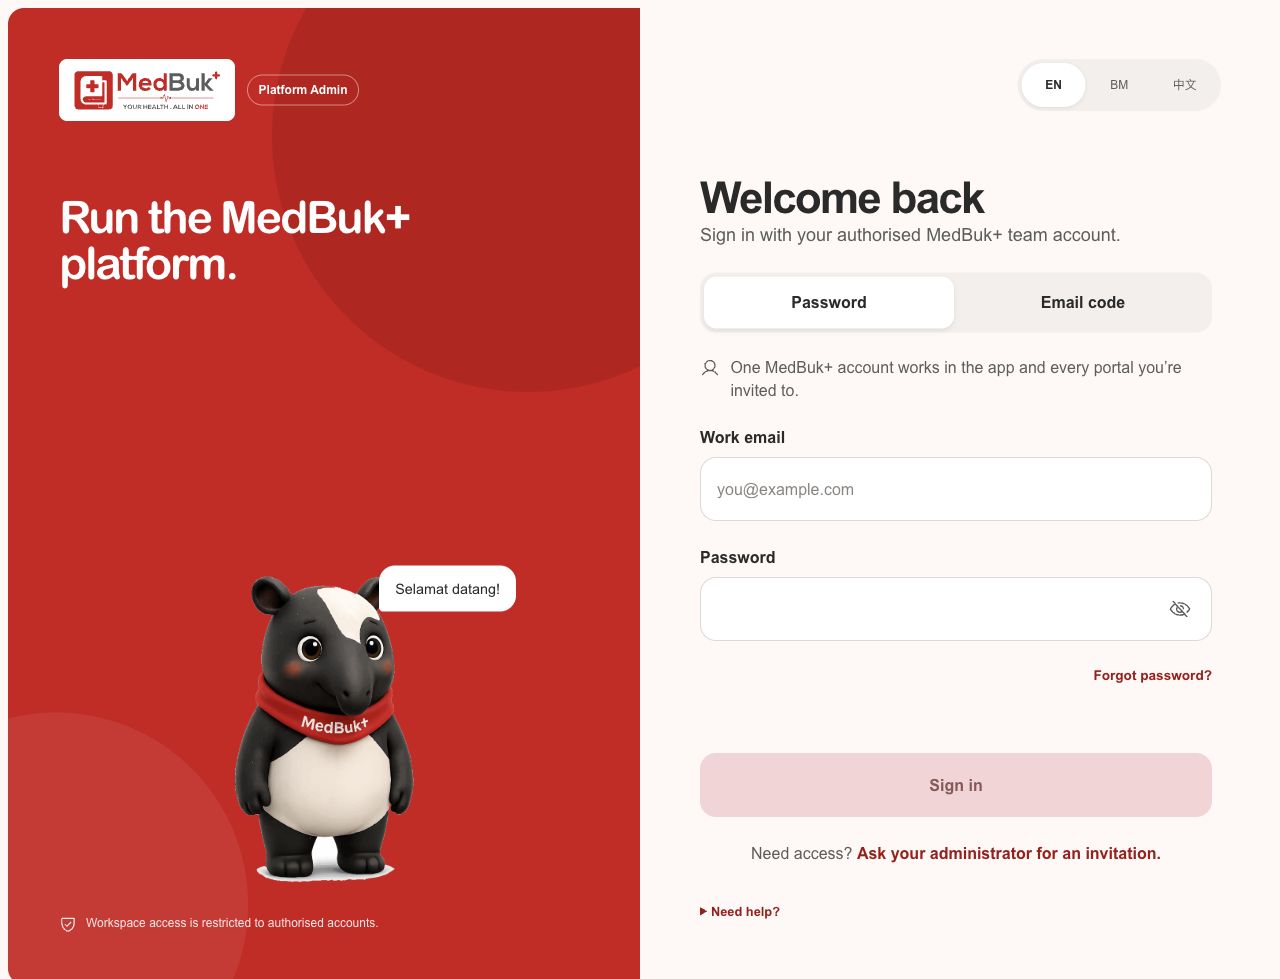
- Choose a method. Use Password when you already have a password, or Email code for a verified account.
- Work email. Enter the email attached to your invited MedBuk+ account.
- Password. Use your existing password. Show password only when the screen is private.
- Forgot password? Start inbox-verified recovery. A reset ends existing sessions; sign in again afterwards.
Expected result: the portal opens the workspace or Platform areas your current role allows. Signing in does not accept an invitation or grant a new role. A sensitive action may ask you to authenticate again within its five-minute action window.
If you cannot continue: check the email and portal, wait for the resend timer, then use the newest code. For an expired or revoked invitation, ask the inviter to review the status. If access is missing, ask the authorized owner to check your role; another portal's session cannot restore it.
Recover a forgotten password
Choose Forgot password? from the Password screen. Request a code for your verified inbox, enter the newest code and choose/confirm the new password when prompted. Sign in again afterwards; recovery does not change your Platform permissions.
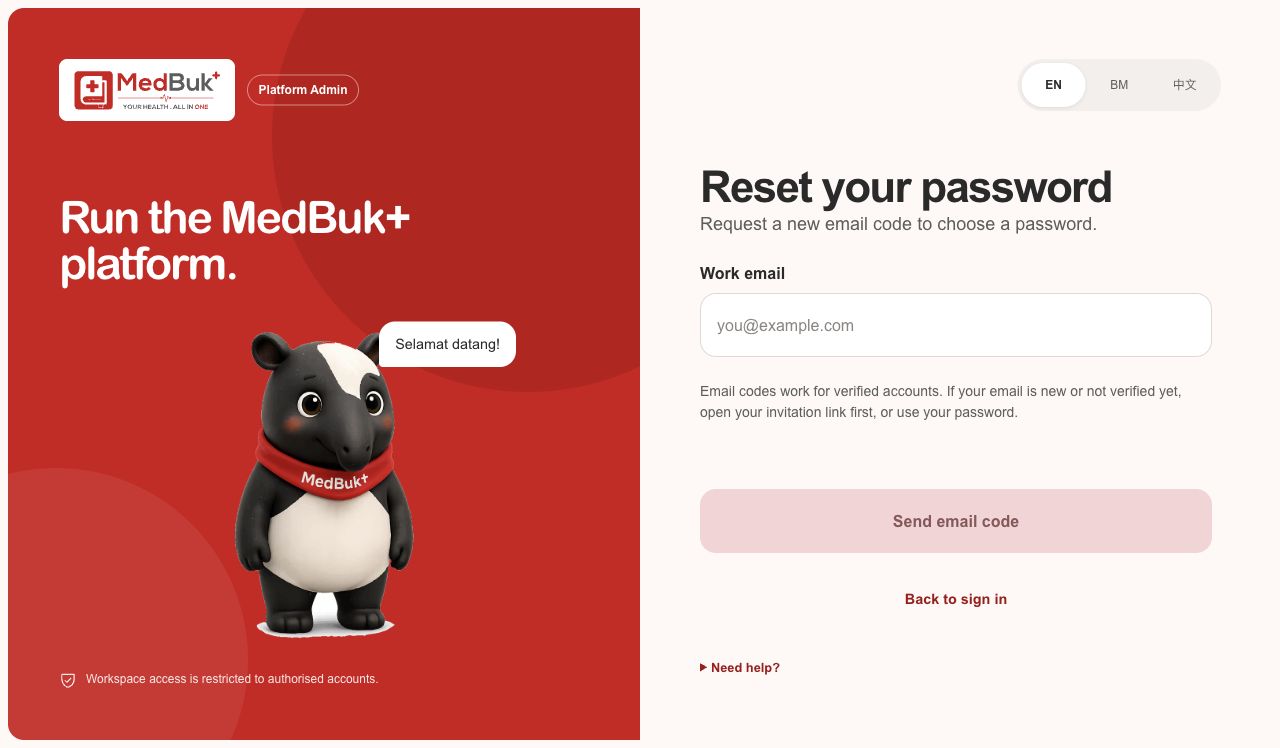
- Work email. Use your existing verified account email. New or unverified accounts should start from their invitation.
- Send email code. Request the recovery code privately. Continue only with a code from your inbox.
- Back to sign in. Return to the normal sign-in methods if you remember your password.
2. Onboard a workspace
Read workflow as text
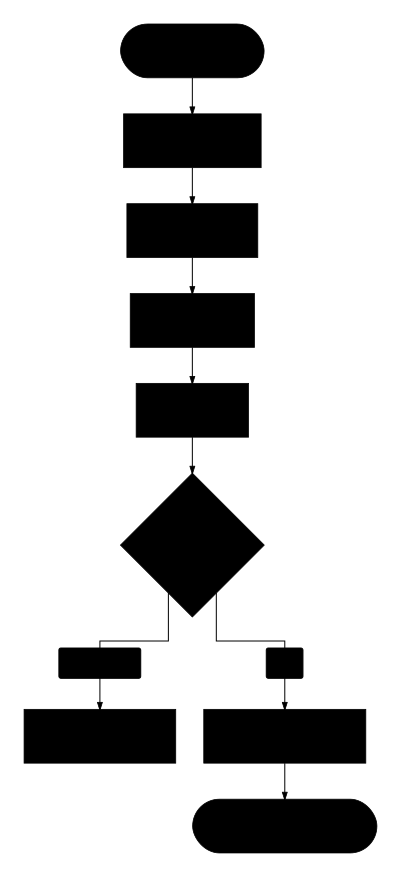
- Open Corporates or Merchants and search before adding a duplicate.
- Save the company or merchant details as a prospect; saving does not create an account or send an email.
- Review the intended owner and email, then send the invitation.
- Treat email-service acceptance, inbox delivery and owner acceptance as separate statuses.
- The owner verifies the inbox and explicitly accepts before the workspace becomes active.
- If delivery or invitation status is unclear, reload the record and history before replacing the invitation.
- Open Corporates or Merchants. Search the list first to avoid adding the same business twice.
- Choose Add corporate or Add merchant, complete the business/contact details and save.
- Open the saved prospect, review the intended owner and email, then use the invitation review/send action.
- Check the delivery state and invitation stage. Accepted by email service confirms provider acceptance only. The owner must still receive the message, verify the inbox and explicitly accept.
- Review the workspace after acceptance. Platform access does not give you its HR or merchant team permissions.
Expected result: saving creates a prospect; sending creates an invitation; acceptance activates the recipient's workspace membership. These are separate results.
If the response is uncertain: reload the record and its invitation history before sending again. Replacing an invitation invalidates the old unused link, even if the replacement email fails.
Continue with corporate onboarding or merchant onboarding and pilot limits. A public merchant application requires Platform approval before an owner invitation can be sent.
3. Review a merchant listing and reward
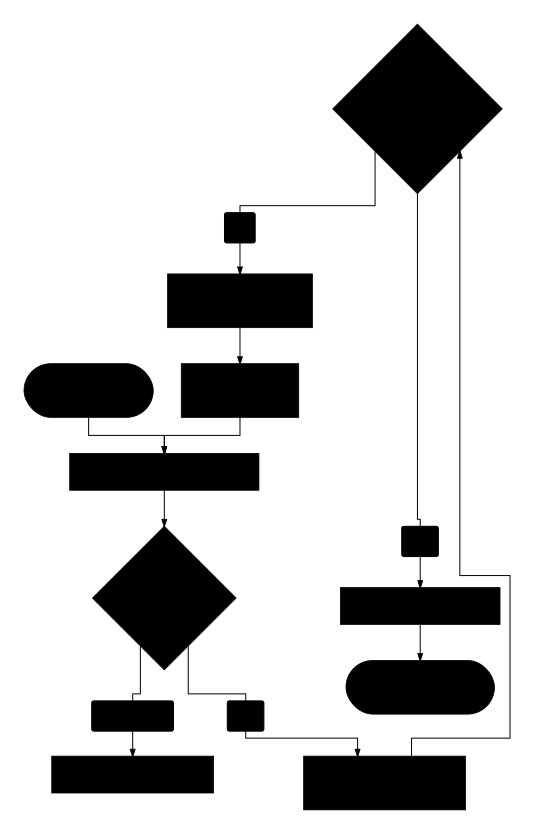
Read workflow as text
- Save the listing or reward as a private draft.
- Submit the selected version for review.
- Platform checks the profile, exact benefit, terms, approved outlets, dates, stock and required evidence.
- If incomplete, Platform requests changes with a clear note; the owner edits the draft and resubmits it.
- If complete, Platform explicitly approves publication.
- If status is uncertain or another person changed the record, reload before acting again; publication does not activate payment collection or reimbursement.
- Open Directory partners and inspect the submitted profile, category, outlets, hours and catalogue. Check required clinic evidence when applicable.
- Approve a complete listing, request changes with a note, or pause an existing public listing with a note.
- Open Rewards → Awaiting review. Read the exact benefit, eligibility, approved outlets, dates, stock, uses per member and exclusions.
- Choose Approve publication only after reviewing the submitted version, or Request changes with a useful explanation.
- Check the resulting status. Published reward details are immutable; use Archive with a reason to stop new claims while preserving history.
Expected result: an explicitly approved version becomes public. Saving a draft or submitting for review does not publish it. No payment collection or reimbursement is activated by this flow.
If another person changed the record: reload and review the current version before deciding again. Follow the full listing/reward review guide.
4. Manage welcome content and read reports
Use Onboarding to prepare, preview and explicitly publish a welcome version. Use Analytics for permitted grouped reports, select the Malaysia-time period and choose Apply. Unavailable data is not zero activity.
For account recovery and separate portal sessions, see portal access.