Merchant workflows in pictures
Apply, sign in, submit a listing and reward, then verify and collect a member voucher.
Use this guide to join MedBuk+, prepare a public listing and reward, and collect a member's voucher. Owners manage the listing, rewards and team. Staff fulfil rewards with their assigned access; neither role receives the member's private health records.
The screenshots below show public access/application screens captured on 5 October 2026. Signed-in screenshots are pending an approved sample workspace. Application submission, email delivery and redemption were not performed for these captures.
1. Sign in on the correct portal
Open Merchant workspace. New users should open their invitation first, verify the invited inbox, review the access being offered and explicitly accept. If asked to create a first password, enter it twice. Existing accounts keep their password.
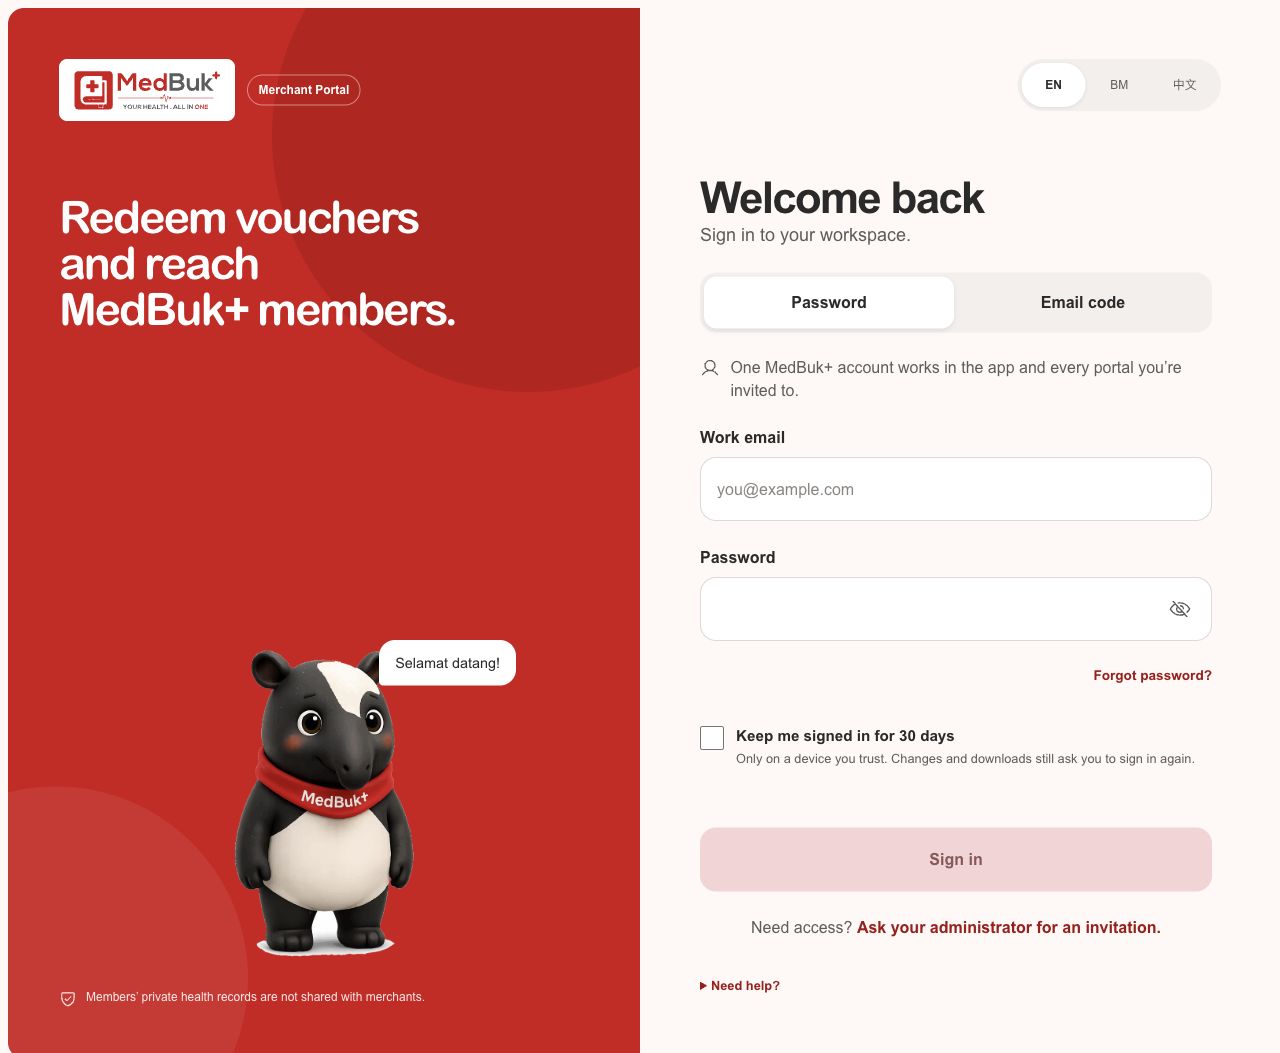
- Choose a method. Use Password when you already have a password, or Email code for a verified account.
- Work email. Enter the email attached to your invited MedBuk+ account.
- Password. Use your existing password. Show password only when the screen is private.
- Forgot password? Start inbox-verified recovery. A reset ends existing sessions; sign in again afterwards.
Expected result: the portal opens the workspace or Platform areas your current role allows. Signing in does not accept an invitation or grant a new role. A sensitive action may ask you to authenticate again within its five-minute action window.
If you cannot continue: check the email and portal, wait for the resend timer, then use the newest code. For an expired or revoked invitation, ask the inviter to review the status. If access is missing, ask the authorized owner to check your role; another portal's session cannot restore it.
2. Apply as a new business
Already invited? Skip the public application and follow your invitation. Otherwise open Apply to join MedBuk+.
Read workflow as text
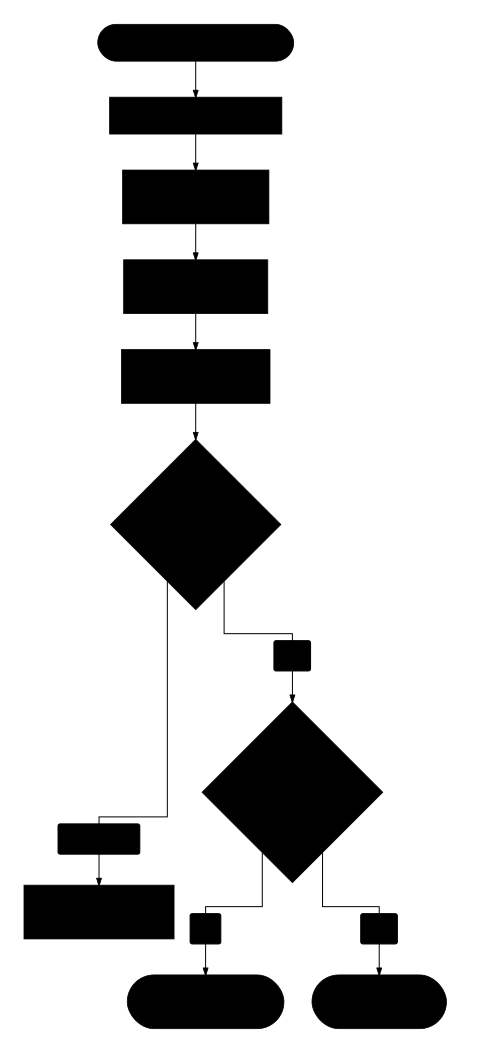
- Complete the business details step.
- Enter the initial administrator's contact details only; do not collect staff addresses in this application.
- Review the business and owner details, then submit for approval.
- Wait for the confirmed application result and reference.
- If the response is delayed or unclear, preserve the draft and check status before submitting again.
- After approval, the owner invitation is sent separately; the owner must verify and accept before inviting staff.
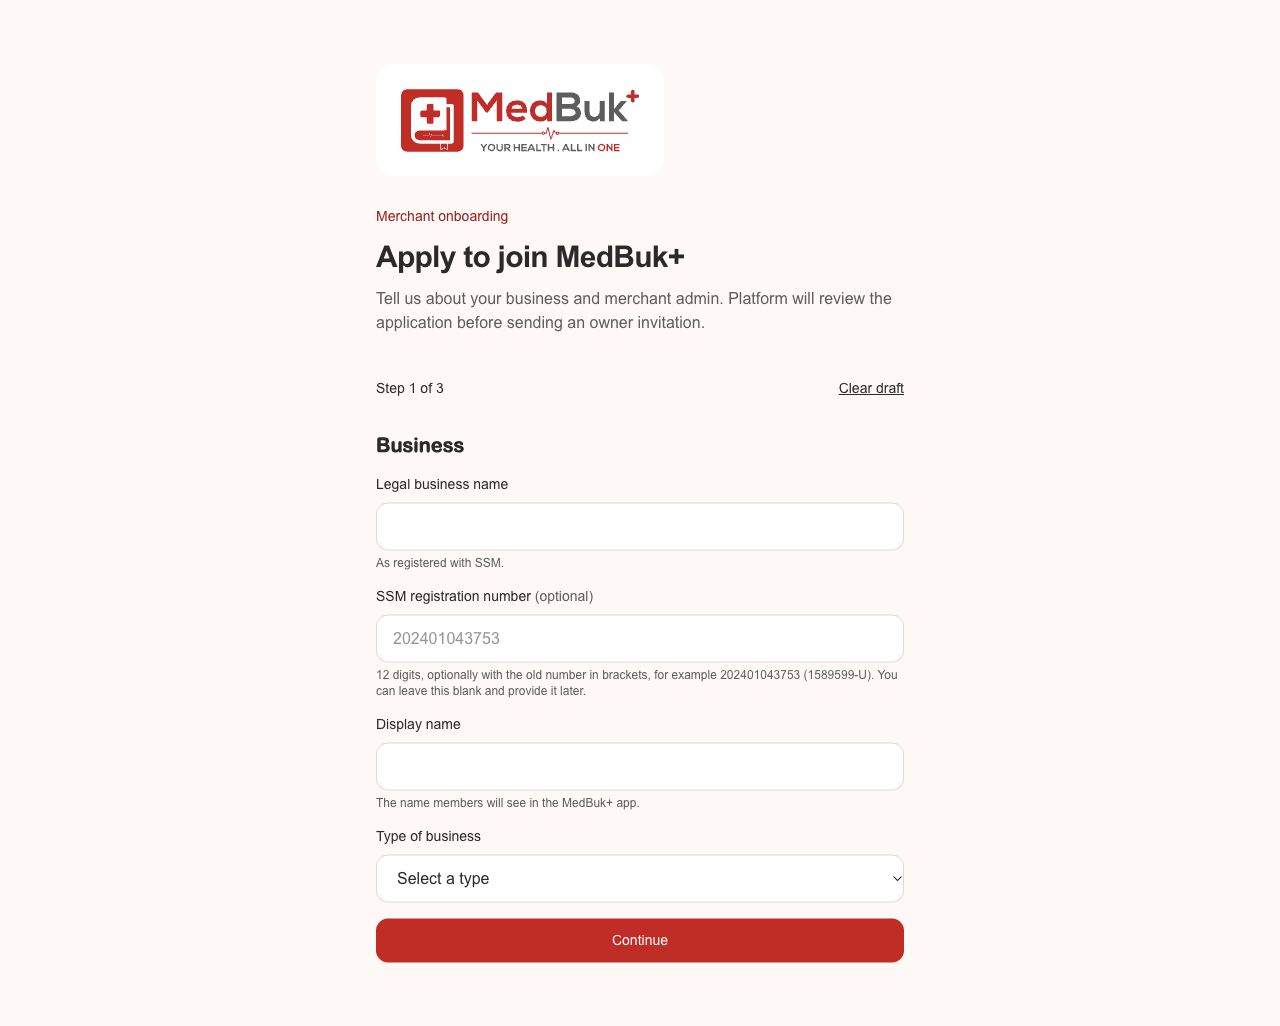
- Legal business name. Enter the registered business name. SSM registration is optional in this form and can be provided later.
- Display name. Use the public name members should see.
- Type of business. Choose Products, Services, or Products and services.
- Continue. Move to the owner contact step. This does not submit an application or send an invitation.
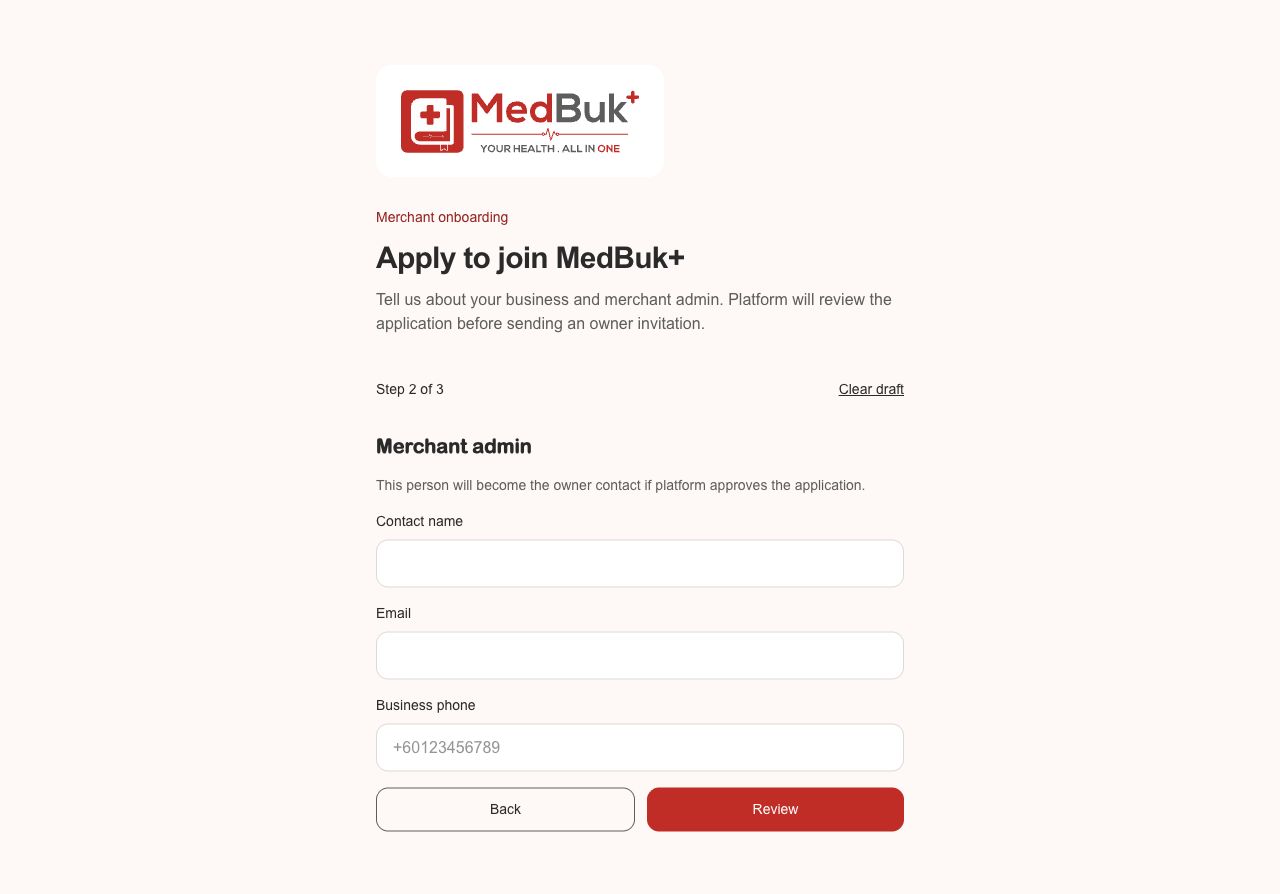
- Contact name. Name the initial merchant administrator who should become the owner contact after approval.
- Email. Use that administrator's inbox. Do not enter staff or team addresses here.
- Business phone. Provide the business contact number requested by the form.
- Review. Check business and owner details before choosing Submit for approval. Approval and the invitation happen separately.
- Complete the business step and select Continue.
- Enter the initial administrator's contact details only, then choose Review.
- Check the business and recipient. When correct, select Submit for approval and wait for Application received with a reference.
- Platform reviews the application. Approval allows the owner invitation to be sent separately; submitting creates neither an account nor membership.
- The invited owner verifies the inbox, accepts, completes first-password setup if needed, then invites staff after joining.
If submission is uncertain: preserve your draft and follow the form's retry/status guidance. Do not create another application just because the response was delayed. Back edits your details; Clear draft removes the draft stored in this browser.
3. Prepare the listing and a reward
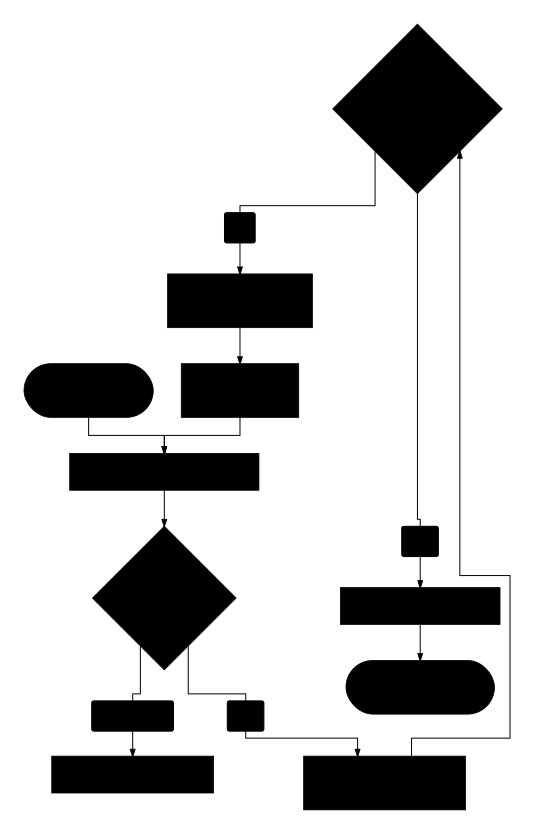
Read workflow as text
- Save the listing or reward as a private draft.
- Submit the selected version for review.
- Platform checks the profile, exact benefit, terms, approved outlets, dates, stock and required evidence.
- If incomplete, Platform requests changes with a clear note; the owner edits the draft and resubmits it.
- If complete, Platform explicitly approves publication.
- If status is uncertain or another person changed the record, reload before acting again; publication does not activate payment collection or reimbursement.
- Check the selected merchant workspace. Open App profile, Branches & hours and Products & services to complete the listing and catalogue.
- Save the private listing draft, review it, then choose Submit for review. An approved public snapshot changes only after another review.
- Open the reward editor and New offer. Set the exact free/discount benefit, eligibility, terms, uses, stock, dates and approved outlets.
- Review the partner-funded terms, Save draft, then Submit for review.
- Check Awaiting review, Changes requested, Published or Archived. Only Platform approval publishes the reward.
Expected result: your saved draft remains separate from the published version. MedBuk+ does not collect a discount remainder or reimburse the partner in this flow.
If save status is unclear: reload the current record before trying again. Submitted offers cannot be edited while awaiting review; published offers are immutable. See listing and offer rules.
4. Verify and collect a voucher
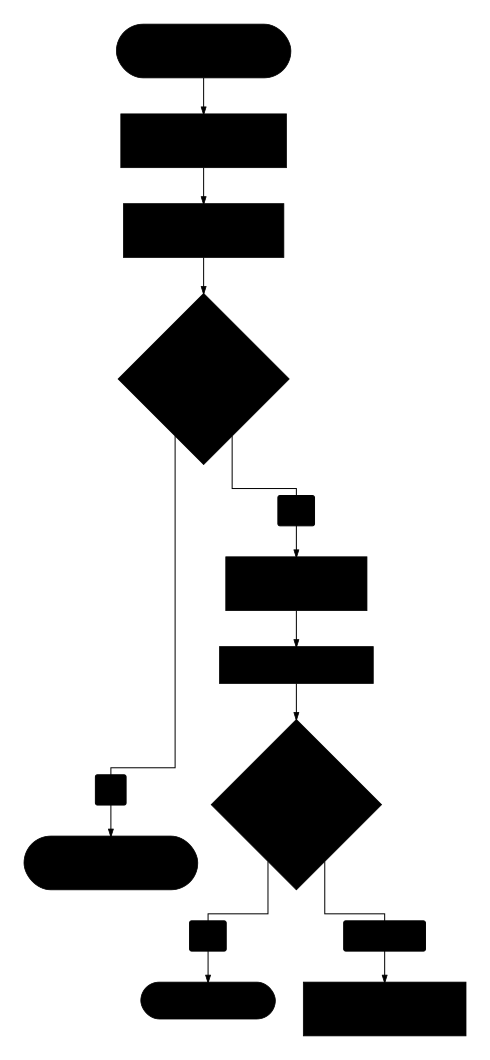
Read workflow as text
- Ask the member to show the private QR or short code.
- Verify the code in the active merchant workspace.
- Check the exact benefit, restrictions, approved outlet and expiry.
- Continue only when the result says Ready to redeem; used, expired or unavailable vouchers are not fulfilled.
- Deliver the free benefit or apply the discount, then confirm redemption.
- If the result is unclear or the connection drops, check latest status before retrying or issuing anything.
- Open Redeem voucher in the correct merchant workspace. Ask the member to show the private QR or short code.
- Scan in a supported browser, or enter the short code including its hyphen. Choose Verify code.
- Check the returned benefit, restrictions, approved outlet and expiry. Continue only when it says Ready to redeem.
- Confirm Free product/service delivered or Discount applied as appropriate, then Confirm redemption. Any remaining bill is paid directly to the merchant.
- Wait for the confirmed result. An already redeemed, expired or unavailable voucher must not be fulfilled again.
If the connection drops: choose Check latest status before retrying or issuing anything. Verification is not redemption; a QR screenshot alone is not confirmation. Read collection and uncertain-result recovery.
5. Run a pop-up booth with a scan link
Workflow: Owner creates a link and PIN → promoter opens the link and enters the PIN once → scan or type the member's code → check → Redeem.
A booth scan link lets promoters collect vouchers on their own phones without a MedBuk+ account. The link alone redeems nothing: the member's own QR (it changes every minute) or short code is still needed, and every redemption follows the same once-only rules as the merchant workspace.
Owner: create the link
- In the merchant workspace, open Booth scanner links (owners only; you may be asked to sign in again).
- Create a link, optionally for one outlet. By default it ends when your published offers' collection period ends; you can choose a later date.
- The link, a QR of the link, and a 6-digit PIN are shown once. Give them only to the booth team, in person or privately. Never post them in a group chat or on a poster.
- If a phone is lost or a promoter leaves, revoke the link (it stops at once on every phone) or rotate it (new link and PIN; every phone is signed out).
Promoter: collect a voucher
- Open the link on your phone. The page is titled MedBuk+ Scanner. Choose EN, BM or 中文.
- Enter the booth PIN and tap Unlock. You enter it once; the phone stays unlocked for up to 16 hours, and never past the link's end date.
- Under Scan a voucher, tap Scan QR code and hold the member's QR inside the frame. Or type the Voucher code (two groups of four, for example ABCD-2345) and tap Check code.
- Valid voucher shows the offer and how long it is valid. Tick I am ready to give the offer to this customer, tap Redeem, wait for Redeemed, then hand over the offer. Tap Scan next.
- Lock this phone when you finish.
Other results: Already used, Expired, Not for this merchant, Not valid at this outlet or Code not recognised (a QR stops working after a minute; ask the member to refresh it). Give nothing for any of these. Not confirmed yet means the connection dropped: tap Check again before handing anything over.
Privacy: the scanner shows only the offer and its status, never the member's name or details. Every unlock and redemption is recorded against the link.
Screenshots of the scanner are pending; a real link and PIN must never appear in a guide image.
For the member's side, see the app reward workflow. Owners can also invite staff and read workspace analytics.